How to Install a Robot Mower in One Afternoon
Installing a robot mower is simpler than it looks. We break down the boundary wire, base station placement, and wire burial into clean, safe steps.
By TheYardForge — outdoor and garden gear, analyzed honestly for real backyards
You just unboxed a robot mower, saw the pegs and the spool of boundary wire, and quietly wondered if you need an engineering degree. You don't. What you need is a free afternoon, a clear plan, and the right order of operations.
Installing a robot mower comes down to four tasks: place the charging station, lay the boundary wire, connect the guide wire if your model uses one, and run the initial calibration. Most DIY installs on a flat or gently sloped lawn take three to five hours, based on manufacturer guides and owner reports. The two mistakes we see most often are burying the wire before testing the layout, and placing the base station where the mower can't find it. This guide covers the general installation flow for models like the Worx Landroid or the Husqvarna Automower, but the exact steps vary by model, so keep your manual open. Quick note: some links in this article are Amazon affiliate links, they support the blog at no extra cost to you.
Plan Before You Peg Anything
Roughly 70% of install headaches come from rushing the planning stage. Sketch your lawn on paper first. Mark trees, flower beds, paths, and any slope steeper than your mower's rated incline. The boundary wire needs a clear loop around the entire mowing area, with no gaps and no crossed wires, but it can run close to obstacles.
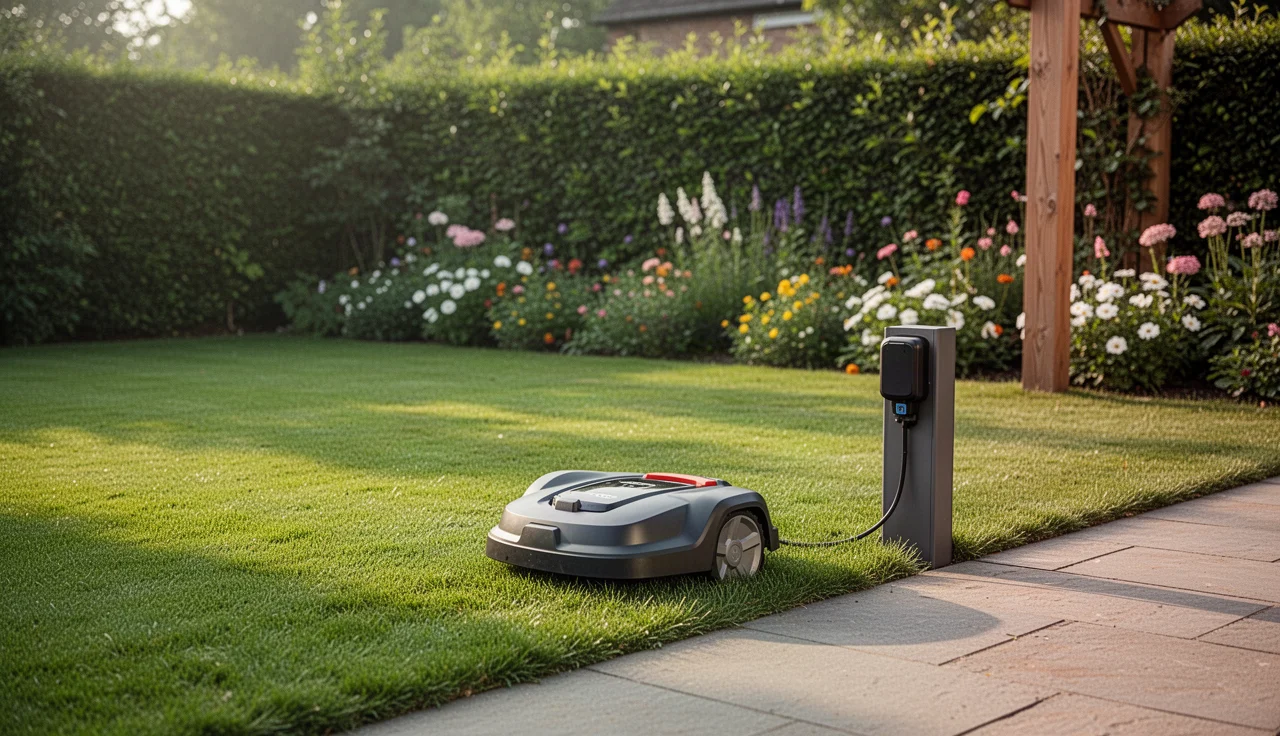
Here is where the base station matters most. It needs firm, level ground, a nearby outdoor power outlet, and at least a few feet of clear space in front so the mower can dock and undock without drama. According to manufacturer specs, most stations also need clearance on both sides. If you place it under a dense tree canopy, the mower may struggle to find its way home.
In our analysis, the cleanest installs are the ones where every turn, island, and narrow passage is marked on the sketch before the first peg goes in the ground.
Lay the Wire, Then Test, Then Bury
This is the order that saves you from cutting a buried wire three weeks later.
- Place the charging station where you planned it, but don't screw it down yet.
- Start the boundary wire at the station and lay it loosely along your marked line. Peg it down every 60-90 cm, tighter on curves.
- If your mower uses a guide wire, run it from the station to the farthest point of the lawn and peg it straight.
- Connect the wires to the station exactly as the manual shows. This is low-voltage signal wiring, not mains power, but if you have any doubt, get a qualified electrician to check the station hookup.
- Turn the mower on and let it follow the wire once around the perimeter. If it completes the loop and finds the station, you're good.
- Only now do you bury or hide the wire. Sinking it 2-5 cm deep with a flat spade works, or you can let the grass grow over it.
Here's a quick comparison of the two most common installation approaches.
| Installation method | Best for | Main drawback |
|---|---|---|
| Peg wire on the surface | First-time installs, renters | Visible for a few weeks |
| Bury wire 2-5 cm deep | Permanent gardens | More work upfront, harder to adjust |
This is general information, not professional advice. If your lawn has steep slopes or the station needs wiring work outside a standard outdoor socket, hire a professional.
Calibrate and Let It Learn
Once the loop is closed and the mower docks correctly, run the mower's guided setup. Most robots will ask you to define the mowing schedule, cutting height, and sometimes drive a manual lap to map the perimeter.
Give it two or three full passes before you judge the cut quality. Robot mowers trim a little grass each time rather than scalping it in one go, and it takes a few cycles for the pattern to even out. Keep the charging contacts clean, clear sticks and toys off the lawn, and check the boundary wire after heavy rain or aeration. If you want the full picture of what to expect from a robot mower beyond installation, our robot mower guide covers maintenance and long-term ownership.
FAQ
Do I need to bury the boundary wire?
No. You can peg it on the surface and let the grass grow over it. Burying it 2-5 cm deep looks cleaner and protects the wire, but it makes future layout changes harder.
How long does a robot mower installation take?
For a typical residential lawn, three to five hours. Small, simple yards can go faster. Lawns with many islands, narrow passages, or slopes take longer.
Can I install a robot mower on a sloped lawn?
Yes, if the slope is within your model's rated incline, which is usually around 20-35% depending on the mower. Check the manufacturer's spec and place the boundary wire so the mower approaches steep sections straight on, not sideways.
What if the mower can't find the charging station?
The two most common causes are a poorly placed station and a crossed or damaged boundary wire. Test the loop before burying anything, and keep the station zone clear of metal objects and dense overhead cover.
A robot mower install looks intimidating on day one, but it's really just a careful afternoon of planning, pegging, and testing. Get the boundary loop right before you hide the wire, and the mower does the rest all season.