How to Install a Robot Mower in One Afternoon
A clear guide to setting up a perimeter wire, placing the charging base, and programming your robot mower. Skip the guesswork with this honest step-by-step walkthrough.
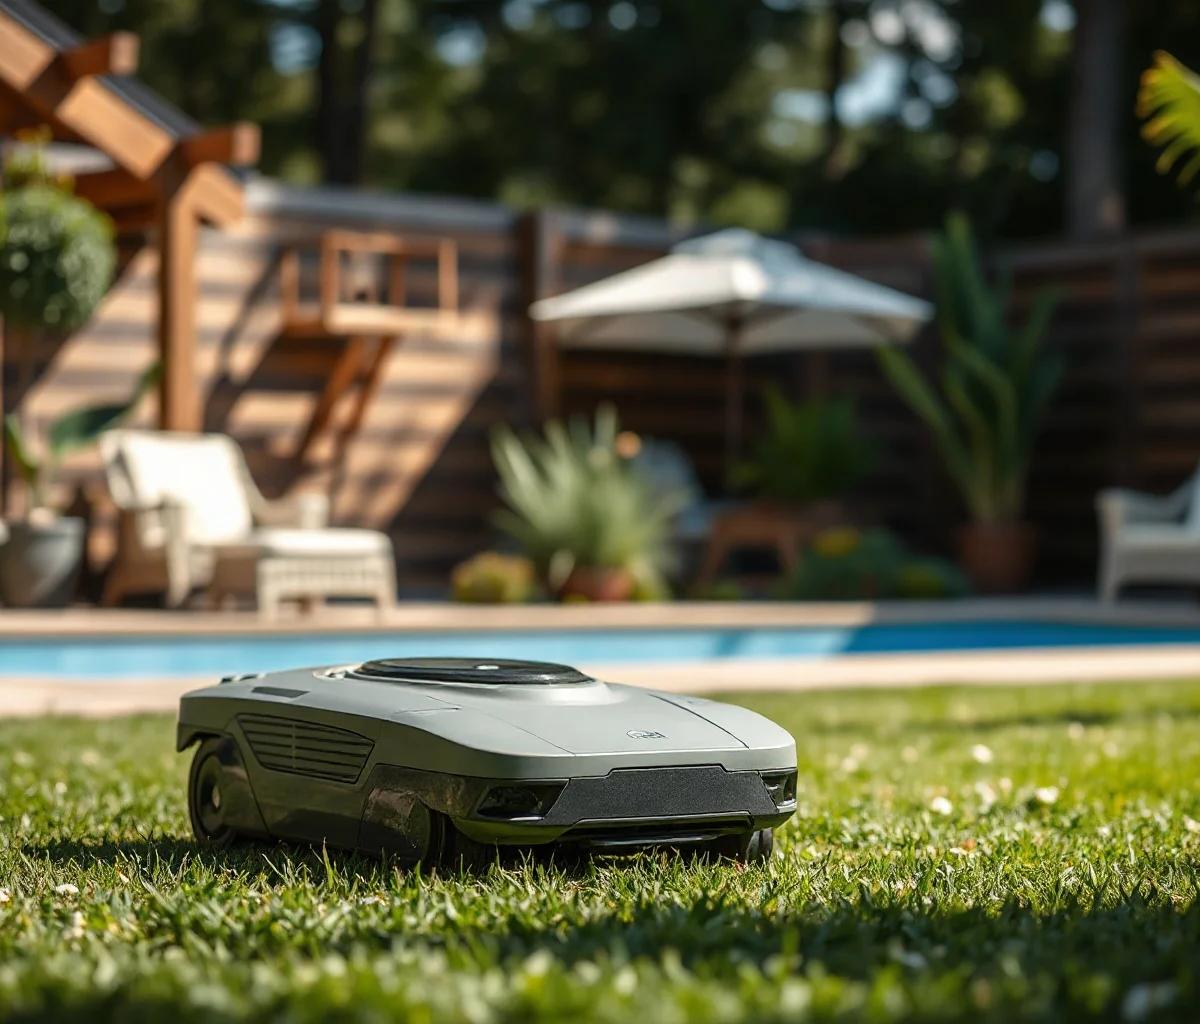
By TheYardForge — outdoor and garden gear, analyzed honestly for real backyards
You just unboxed a shiny new robot mower, and the pile of pegs, wire, and manuals looks more like a craft project than a lawn care solution. The good news is that installing one is far simpler than it appears. In most yards, you can complete the setup in a single afternoon. The core tasks are laying a perimeter boundary wire, placing the charging base, and programming a basic schedule. The wire creates an invisible fence, keeping the mower inside your lawn and away from flower beds or gravel paths. You peg it down along the edges, connect the two ends to the base station, plug it in, and turn it on. Based on the specs and owner reports from models like the Husqvarna Automower, Worx Landroid, and Segway Navimow, the physical work is the main event. The rest is just confirming settings. Let's walk through the whole process so you skip common first-timer mistakes.
Quick note: some links in this article are Amazon affiliate links, they support the blog at no extra cost to you.
Lay the Perimeter Wire the Smart Way
The boundary wire is the nervous system of your robot mower. When done correctly, it ensures the mower cuts grass, not your prize dahlias.
Most manufacturers include a few hundred feet of wire and starter pegs. Start by placing the charging base in a flat, shady spot at the edge of your lawn, near an outdoor power outlet. This station needs at least 3 feet of clear space in front and a straight wire path leading out. Roll out the wire loosely along the lawn's edge before pegging anything down; this lets you adjust curves without kinking the wire.
Bury the wire 1-2 inches deep using a spade or hang the included stakes every 2-3 feet, pressing them in with your shoe. The goal is for the wire to disappear into the turf within a few weeks. For areas you want the mower to avoid (trees, fire pits, steep slopes), create an island by looping the wire around the obstacle and bringing both strands back together. Keep the two strands tightly paired on the return path; the mower reads the crossed signal and knows to ignore it.
Here is where it gets tactical. Here is a quick decision table to determine your best wire-laying method:
| Lawn Type | Best Wire Layout | Typical Install Time |
|---|---|---|
| Simple rectangle, no obstacles | Perimeter loop with single guide wire | 1-2 hours |
| Garden beds and islands inside the lawn | Perimeter plus island loops | 2-4 hours |
| Complex multi-zone layout | Zone separation with corridor wiring | 3-5 hours |
Step-by-Step Install Checklist
- Mark the layout: Use chalk spray or a long rope to visualize the boundary before pegging.
- Position the base: Place the charging station, plug it in, and run a quick power test.
- Roll the wire: Run the boundary wire loosely, starting at the base and working clockwise.
- Create islands: Pair the two return strands closely to make obstacles invisible to the mower.
- Secure the wire: Peg every 2-3 feet immediately after you confirm the path looks correct.
- Connect the ends: Strip the wire tips and press them into the spring-loaded base terminals.
- Verify the signal: Turn the station on and check for a solid green indicator light.
Configure Your First Mowing Schedule
Once the wire is down, the rest largely happens on-screen. Most robot mowers, including the Worx Landroid, use a companion app or onboard control panel to set a weekly schedule. Avoid the temptation to run it daily from the start. Overcutting stresses the grass, and the mower needs to finish a full charge cycle between runs.
Start with 3-4 mowing days per week, timed for dry mid-morning hours. Tell the mower your lawn's approximate square footage, and let the software suggest run times. The machine will head out, cut until it or the battery demands a recharge, dock, and resume later. In our analysis, the Segway Navimow makes this part especially painless with its GPS-assisted mapping, though you still need the physical wire for a reliable edge boundary.
Set the cutting height to the manufacturer's recommended mid-point (usually between 2 and 3 inches) and adjust after two weeks based on your grass health. Let the mower handle the rest.
Common First-Week Fixes
- If the mower slips frequently, check for a wet slope or worn traction strips on the wheels.
- If it fails to dock, confirm the base plate is level and the approach path is wire-free.
- If you find uncut patches, slightly overlap the mower’s schedule or check for wire-signal dead zones near large metal objects.
Related reading
- How to Set Up Your Backyard for Beginners
- Robot Mower Not Charging Quick Fix Guide
- Robot Mower Guide: Choose, Install, Maintain
FAQ
Can I install a robot mower without burying the wire? Yes. Laying the wire on top of the grass and pegging it down is the standard method. Over a few weeks, the grass grows over it and it becomes invisible.
How long does the installation really take? For a typical ¼-acre lawn with no major obstacles, plan on 2 to 3 hours from unboxing to the first mow. Complex layouts with island loops and multiple zones can take up to 5 hours.
Do I need a guide wire for a small square lawn? Not always. Many models can navigate small, simple shapes using the boundary wire alone. Once the distance to the charger exceeds roughly 30 feet, a guide wire helps the mower find home efficiently.
What is the biggest mistake first-time installers make? Placing the charging base too close to a corner or fence. The mower needs a clear, straight path to dock. Without it, the mower will wander near the base station until the battery drains.
Final Thoughts on Setup
The physical steps of installing a robot mower are straightforward, lay a wire, drop some pegs, and pick a schedule. Honest preparation takes a relaxed afternoon, not a professional landscaping crew. As with any tool that lives outside, the mower will nick a few edges and dig in a few corners before it learns your yard's exact shape. That is perfectly normal. Tweak the wire once, then let the machine do the thinking from here on out.