How to Winterize an Above Ground Pool the Right Way
Learn how to winterize an above ground pool safely and correctly. A clear step-by-step guide to protect your pool through the cold months. A practical guide.
By TheYardForge — outdoor and garden gear, analyzed honestly for real backyards
The first hard frost hits, and you realize the pool has been sitting untouched since Labor Day. Now you are standing at the edge with a test kit in one hand and a sinking feeling in the other, wondering if you have already waited too long. You probably have not, but the clock is ticking.
Winterizing an above ground pool is about protecting your investment from freeze damage, algae blooms, and a nasty spring opening. The direct answer is this: balance the water chemistry, shock it, lower the water level below the skimmer, drain and protect the pump and filter, blow out the lines, and cover everything tightly. Do that once, and spring startup becomes a weekend chore instead of a swamp-remediation project. If your pool freezes solid, the expanding ice can crack walls and split plumbing. If you leave water in the pump, the housing can split wide open. The good news is none of this is complicated, and you can do most of it in an afternoon with gear you likely already own.
This guide breaks down the process into a clear sequence. We analyze the steps based on manufacturer guidance and real owner reports, not a single pool in a single backyard, so you get the honest, practical route that holds up across most climates.
The 6-Step Winterization Sequence
Follow this order and do not skip the chemistry step. A pool that goes to sleep dirty wakes up green.
Deep clean the pool. Vacuum the floor, brush the walls, and skim every leaf you can. Debris left behind decomposes over winter and feeds algae.
Balance the water. Test and adjust pH and alkalinity according to your test kit instructions. Balanced water protects the liner and makes the closing chemicals work.
Shock the pool. Add a pool shock product following the exact dosing on the label, and run the pump long enough to circulate it. This kills the organic material that would otherwise turn your water into pea soup by March.
Lower the water level. Drain below the skimmer and return fittings, usually 4 to 6 inches under the skimmer mouth depending on your pool design. This keeps expanding ice out of the plumbing.
Drain and protect the equipment. Remove drain plugs from the pump, filter, and heater if you have one. Store the pump indoors or covered. For the filter, follow the manufacturer's winter instructions for your specific model, sand, cartridge, or DE.
Blow out and plug the lines. Use a shop vac or air blower to clear water from the return and skimmer lines, then insert winter plugs. This is the step that prevents cracked underground plumbing.
One important note: if you have any doubt about your electrical setup when removing or reinstalling the pump, this is a job for a qualified electrician. Water and mains power are a dangerous combination, and no guide should pretend otherwise.
Closing Kit vs DIY Approach
You can do this two ways, and both work if done correctly.
| Approach | What it is | Best for |
|---|---|---|
| Winterizing kit | Pre-packaged chemicals, plugs, and often a cover | First-timers, small pools, anyone who wants one box |
| DIY method | Buy chemicals and plugs separately, use an existing cover | Experienced owners, larger pools, people who already own gear |
Quick note: some links in this article are Amazon affiliate links. They support the blog at no extra cost to you.
Kits from brands like Intex and Bestway are genuinely helpful for small to mid-sized pools because everything is matched to the pool size. Where kits fall short is on larger or older pools that need a more tailored chemical approach. We have covered the full seasonal process before in our step-by-step winterization guide, so if you want the deeper breakdown, that is the place to start.
The Cover Makes or Breaks Spring
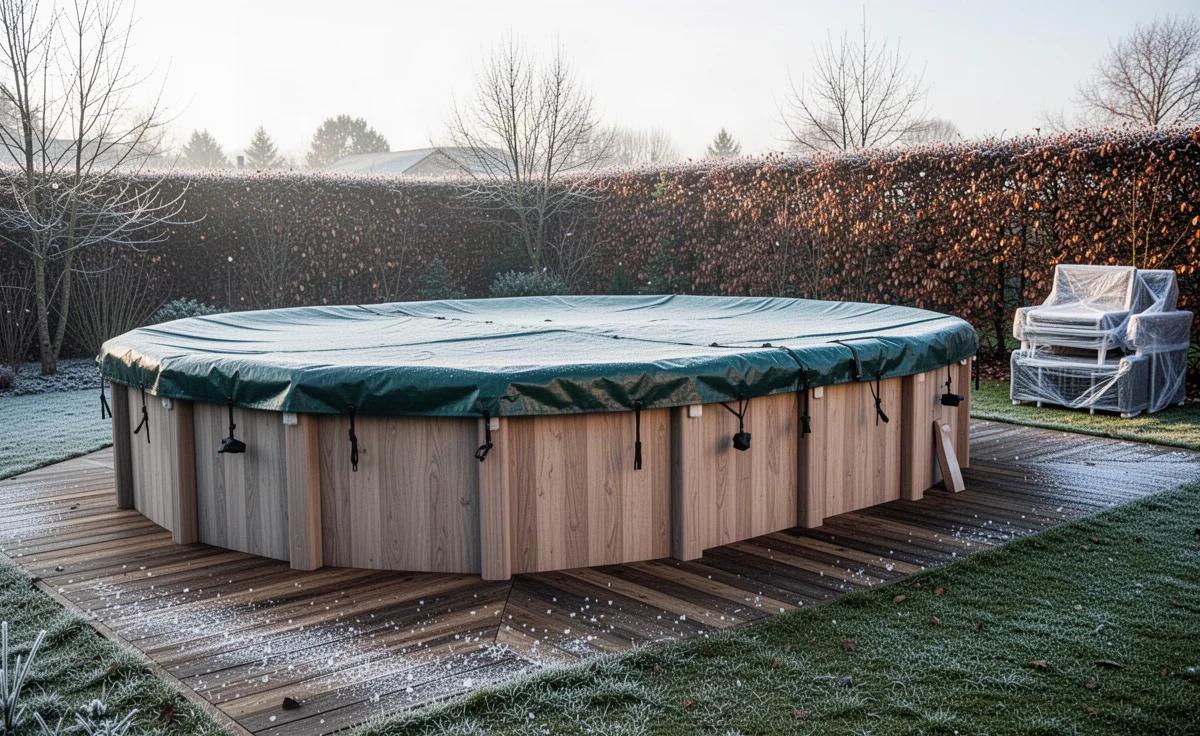
A cheap cover lets in sunlight and debris, and that means algae. A good solid cover with a tight cable and winch keeps the water dark and cold, which is exactly what you want for five months.
Here is where we are honest: a mesh cover on an above ground pool is usually a mistake. It lets fine debris and light through, and you will pay for it in chlorine and scrubbing come spring. A solid winter cover costs more up front but saves real money and hours later. If your pool sits under trees, do not cheap out here.
For the full picture on setup through seasonal care, our above ground pool guide walks through the whole lifecycle from day one to closing day.
FAQ
Can I leave my above ground pool up all winter?
Yes, most above ground pools are designed to stay up year-round. The key is lowering the water, protecting the equipment, and using a proper cover.
Do I need to drain my above ground pool completely?
No. Draining it completely risks liner shrinkage, wall collapse, and wind damage. Leave the water in and lower it just below the skimmer.
What happens if I do not winterize my pool?
At best, you face heavy algae and a long spring cleanup. At worst, frozen water cracks the pump, filter, or plumbing, and those repairs cost far more than an afternoon of winterizing.
Can I use a tarp instead of a winter cover?
You can, but it is a temporary fix. Tarps tear, let light through, and often end up in the pool by January. A proper winter cover with a cable and ratchet is worth the investment.
How long does winterizing take?
For most owners, plan on two to four hours including cleaning. The chemistry tests take the longest, but none of the individual steps are physically demanding.
Winterizing is not glamorous, but it is the highest-leverage two hours you will spend on the pool all year. Do the chemistry, drain the equipment, plug the lines, and cover it tight. Next spring, you will be swimming in a week instead of bailing out a frog pond.